Installing Apio CLI
Ready to get started? Let’s get the Apio CLI installed and configured on your machine.
Setup Guide
Install Apio
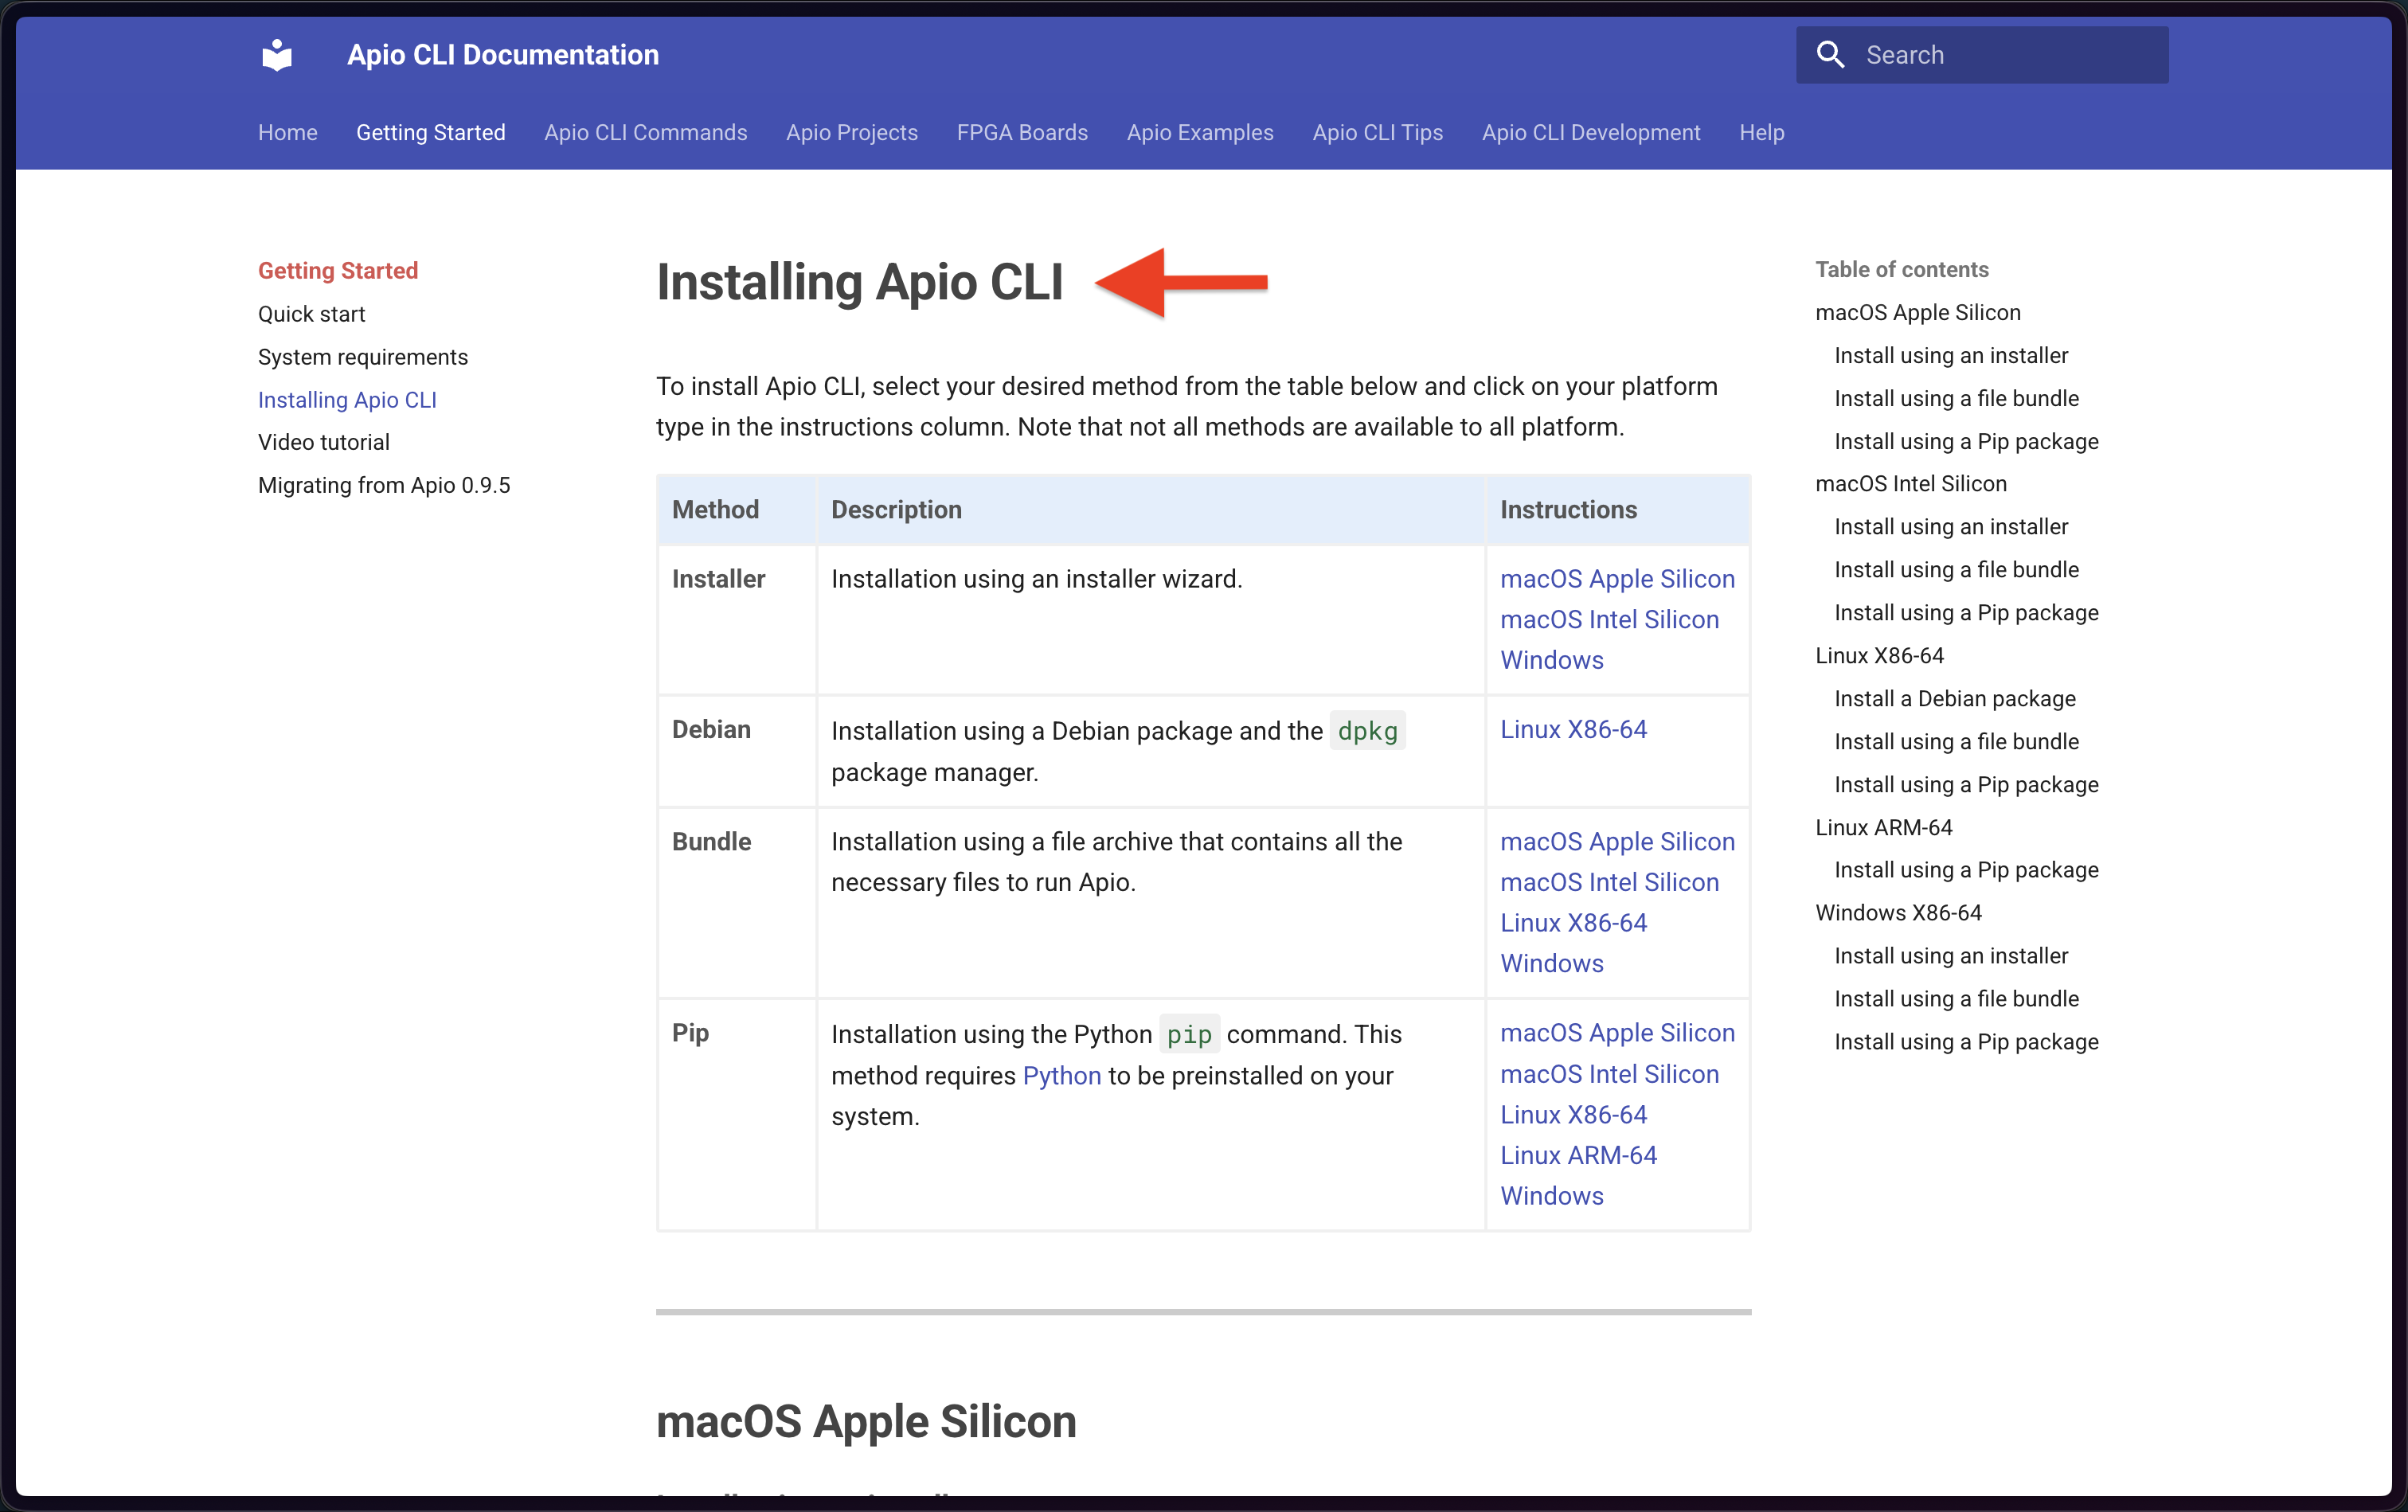
First, you’ll need to install the Apio CLI. You can do this using pip (Python’s package manager) or by downloading a standalone installer for your operating system.
Follow the official Apio CLI Installation Guide ↗ to get it set up on your machine.
Verify Installation
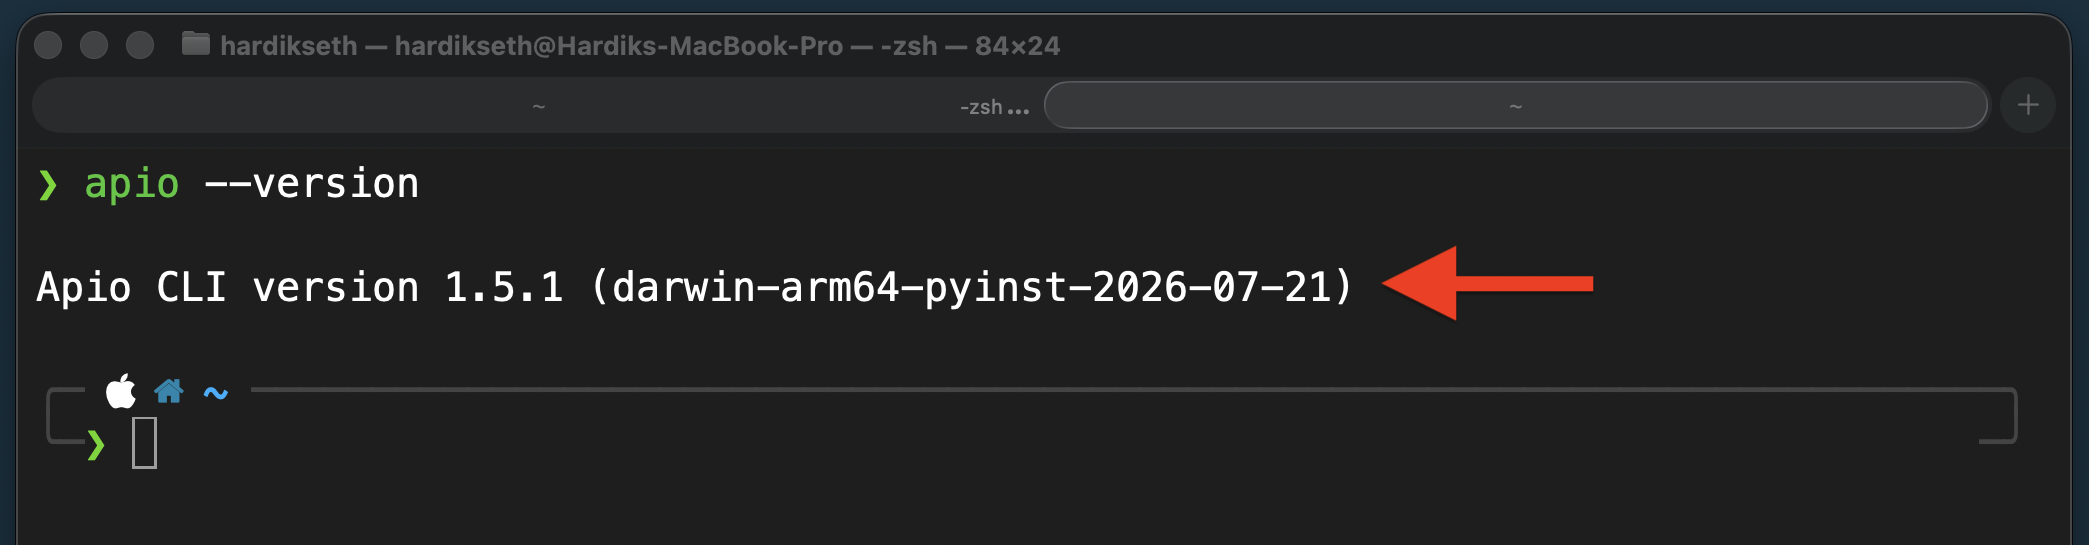
Once you’ve installed it, let’s make sure everything is working correctly. Open your terminal or command prompt and run:
apio --versionIf the installation was successful, you should see a response with the version number, like Apio CLI version 1.5.1.
Download Board Packages
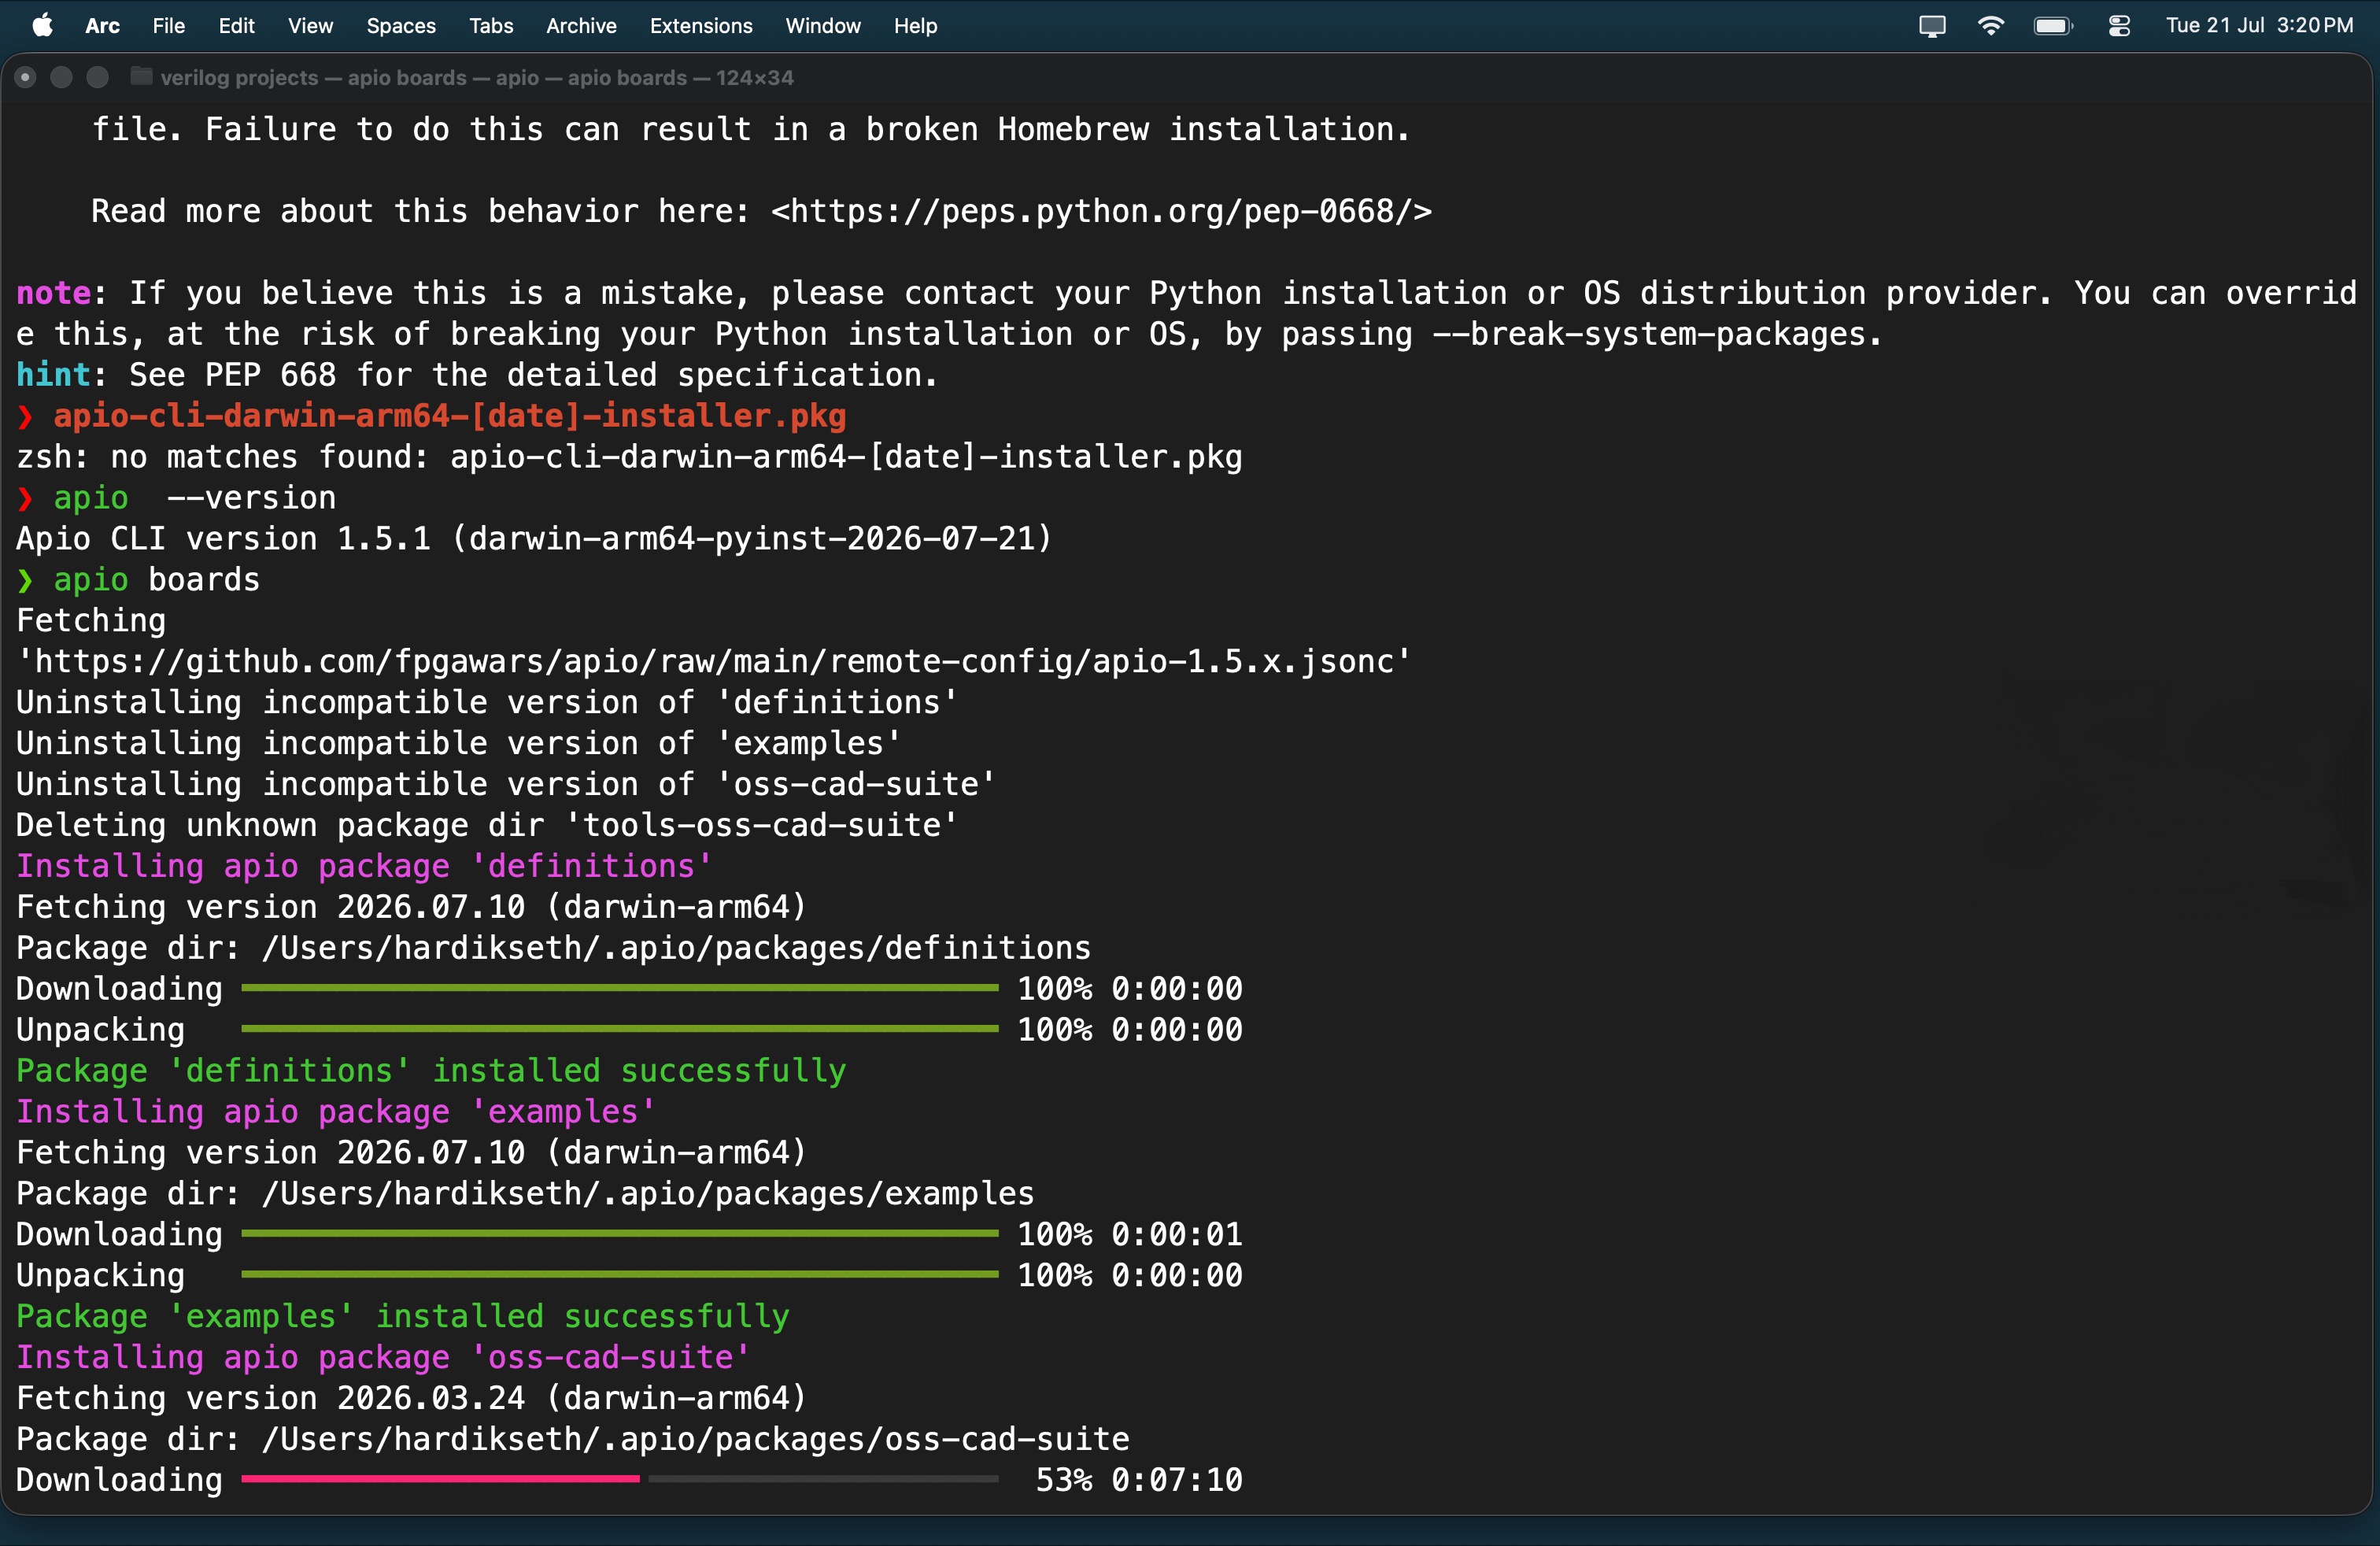
Apio supports many different FPGA boards out of the box, but you need to tell it to fetch the necessary packages. In your terminal, run:
apio boardsApio will automatically connect to the internet and download the latest board definitions.
Check Supported Boards
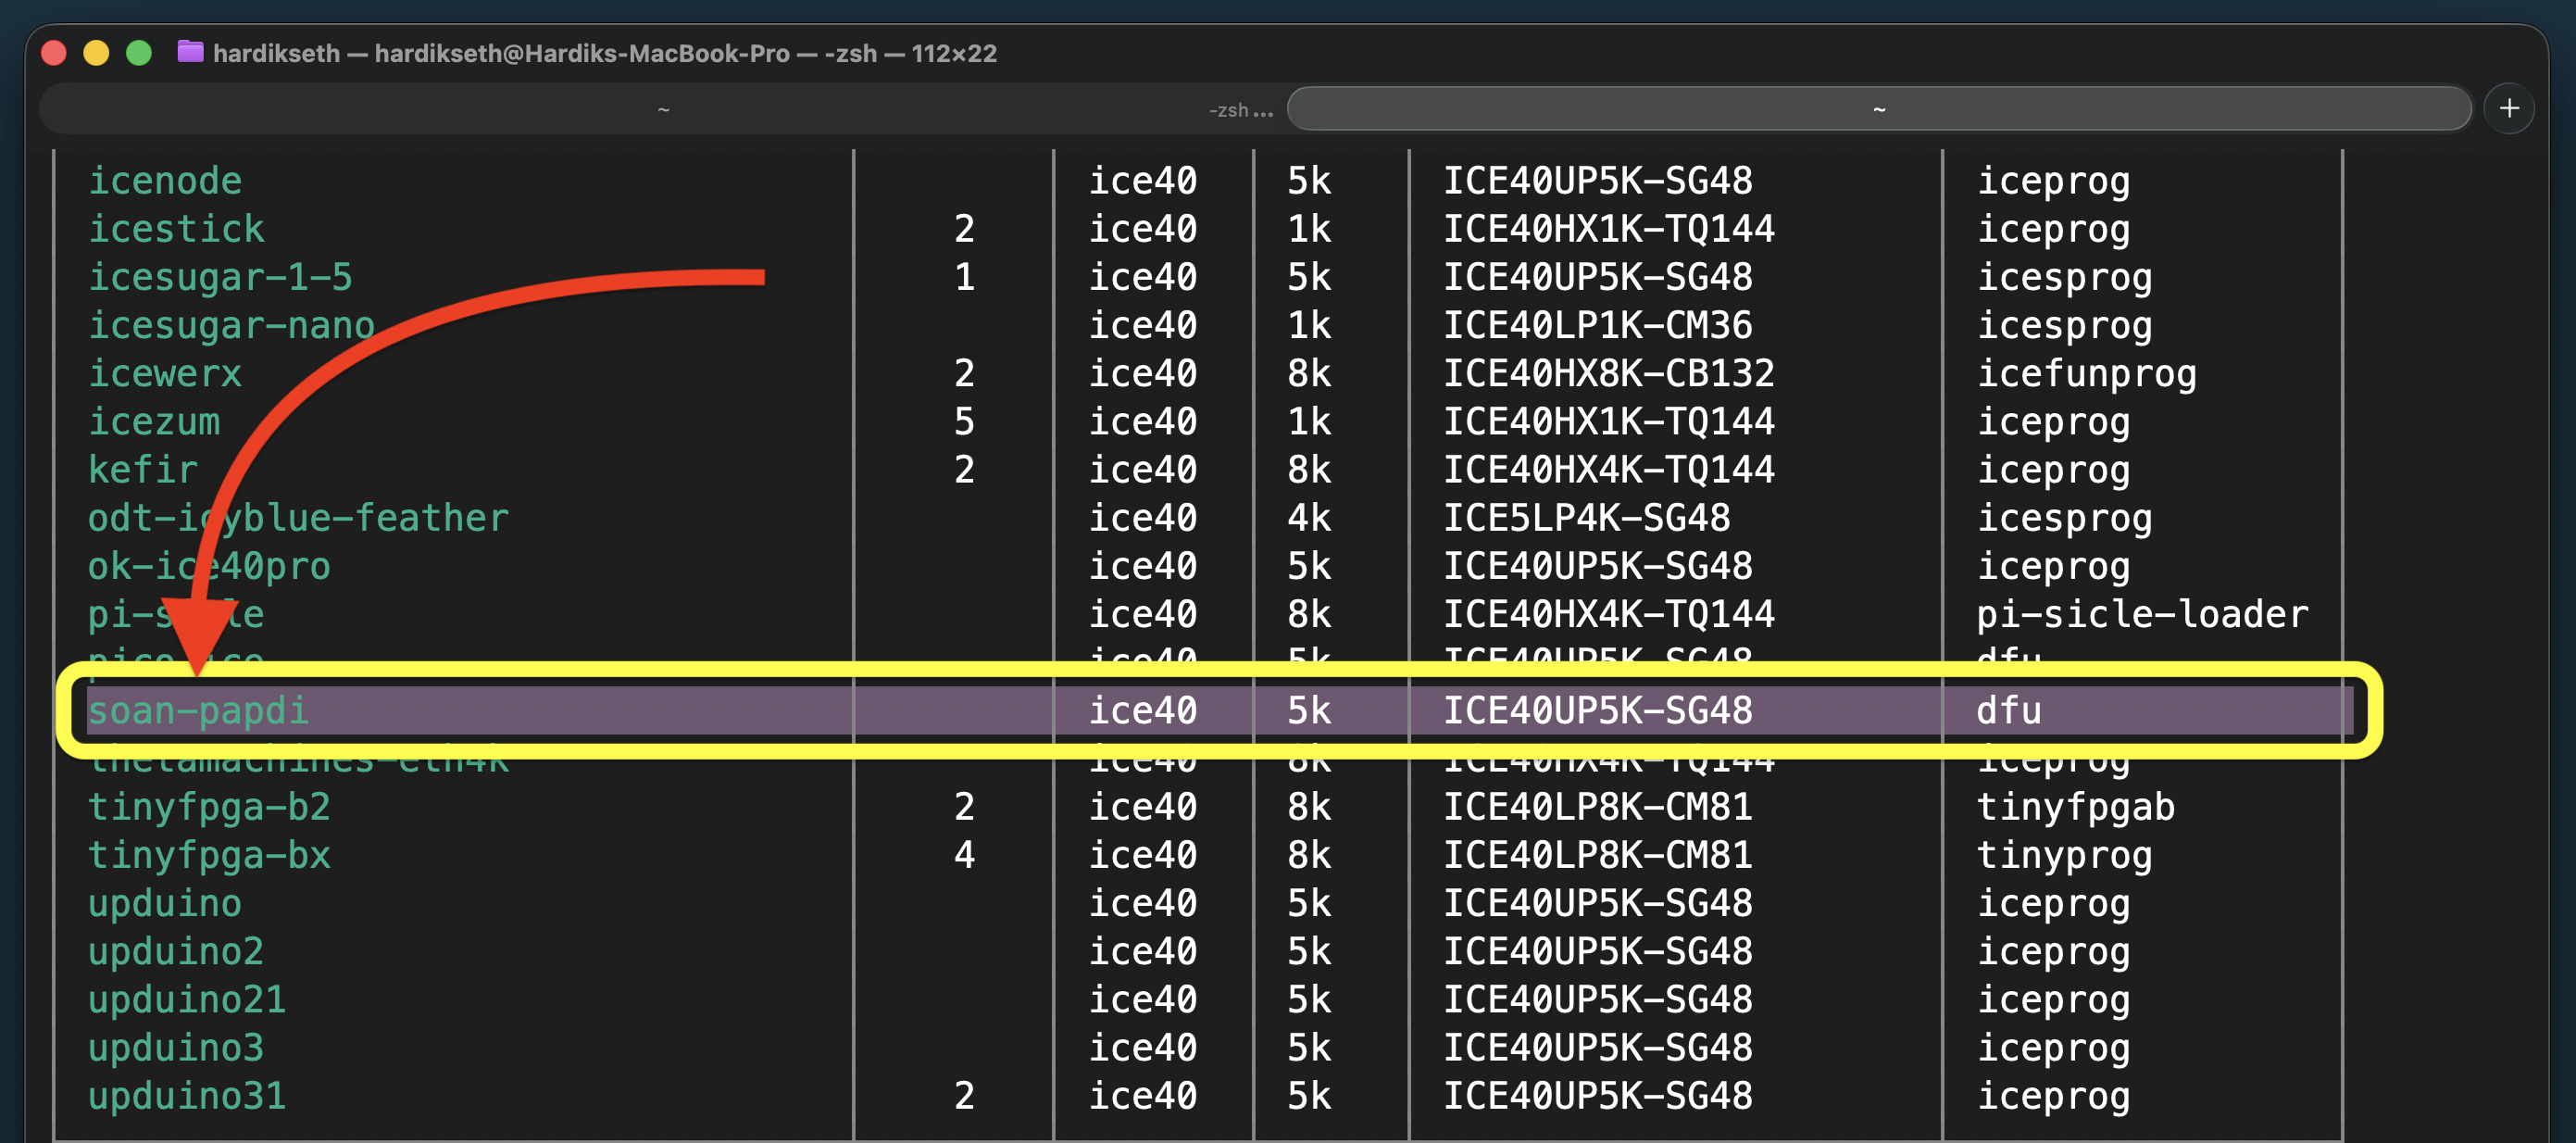
After the download is complete, verify that our board is ready to go. You should now see Soan Papdi listed among the supported boards in your terminal output.
That’s it! Your Apio setup is complete and ready for action. 🥳
Anatomy of an Apio Project
Before we start coding, it’s helpful to understand how an Apio project is structured. Every project typically requires three main files to work:
apio.ini: Tells Apio which board you are using.pins.pcf: Maps the FPGA’s physical pins to names you can use in your code.your_design.v: Your actual Verilog code (e.g.,servo.v).